Using React’s useReducer() Hook to Manage Complex States.
In this article, we'll take a deep dive into the useReducer hook and how it can be used to write clean code for handling complex states.
React is the most often used JavaScript library in software development, and it's more than simply pretty.
Because of the built-in functions, hooks, and JSX syntax, front-end development has never been easier.
After version 16.8, you no longer need to construct a class to take advantage of state and other React capabilities; instead, you can use "hooks."
A quick glance at React's most common hook: useState can be used to add React state to functional components.
We must first call useState in order to make a change to a single state.
The question is, what happens when juggling many states becomes too much work?
In order to employ clean code, there are no unnecessary repetitions. And using the useReducer hook is the greatest technique to get rid of redundant code when it comes to managing numerous states.
In this article, we'll take a deep dive into the useReducer hook and how it can be used to write clean code for handling complex states.
Pre-requisites
It is necessary to have some prior knowledge of JavaScript and React.js in order to properly comprehend this tutorial.
Visit the official docs to install and set up React.js on your computer.
Let's get into it.
File Structure

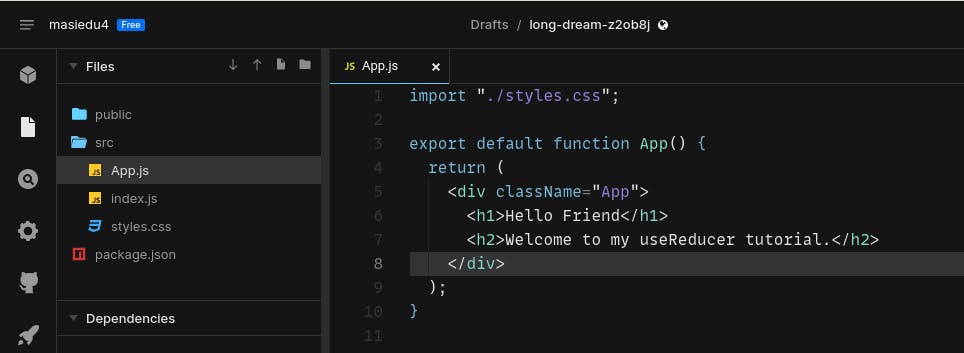
The App.js file will include all of the code involved in working with the useReducer hook. This is done for the purpose of simplicity and readability. You have complete control over how yours is structured.
Using the useState hook to manage multiple states
State variables can be used in functional components thanks to useState, a hook in the framework. If the starting state is sent to this method, the function returns a variable with the current state value and a function that can be used to update this value.
Let's consider a simple application of the useState hook ↓
import "./styles.css";
import { useState } from "react";

export default function App() {
  // set initial values with useState hook using array destructuring
  // the initial / default value of count is set to `2021`

  const [count, setCount] = useState(2021);

  return (
    <div className="App">
      {/* the value of count is passed in the h1 */}
      <h1>{count}</h1>
      {/*adding an `onClick` event listener to the button below  */}
      <button onClick={() => setCount(2022)}> Set to 2022 </button>
      {/* when the button is clicked , `count` gets a new value: `2022`*/}
    </div>
  );
}
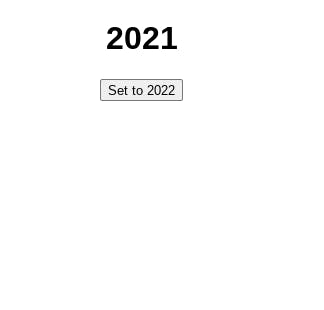
When the user clicks on the button with the onClick event listener, the callback function changes the value of our count variable from 2021 to 2022

Multiple and complex states
import { useState } from "react";

export default function App() {
  const [count, setCount] = useState(0);
  const [showGreetings, setShowGreetings] = useState(true);

  return (
    <div className="App">
      <p> {count} </p>
      <button
        onClick={() => {
        // When the button is clicked, count is increased by 1
        // an the value for the boolean (showGreetings) is reversed
          setCount(count + 1);
          setShowGreetings(!showGreetings);
        }}
      >
        Call
      </button>
      {/* a conditional statement to show `Good Evening` only when showGreetings is `true` */}
      {showGreetings && <p> Good Evening!</p>}
    </div>
  );
}
2 states are controlled with a single button click, as shown in the previous example.
However, this is not a viable option.
Because if there are 10 possible states, we'd have to run useState ten times to keep track of them all.
useReducer solves this issue!
Introduction the useReducer hook
The useReducer hook is an inbuilt hook that is often overlooked as most people do not know when and how to use this hook.
It's a powerful alternative to the useState hook if you know how to use it effectively. The useReducer hook can be used to alter all of your React app's states at once while decreasing redundancy.
useReducer() is well-suited for state updates that are moderately complex (requiring at least 2-3 update actions). useState() is all you need for basic state management.
Anatomy of the useReducer hook
const [state, dispatch] = useReducer(reducer, initialState);
stateholds all of our current statesAn action object can be dispatched by using the dispatch function. Dispatch will be called whenever we want to alter any value in the
state.useReducer takes 2 arguments: a reducer function that manages what happens when the
dispatchfunction is called, and theinitialStatewhich is the value with which the state is initialized.
The reducer function
When you wish to change your state, the dispatch is called, and the reducer function takes care of that.
Let us create a reducer function that sets the count to 2022, as we did with the useState hook previously.
// the initial value of our count variable is set to 2021.

// our reducer function will handle all state changes when...
// ...we call the dispatch in the future
const [state, dispatch] = useReducer(reducer, { count: 2021} );


// the reducer takes 2 arguments

// the `state` gives constant access to the current state of `count`

// the `action` is a way we determine what kinds
// changes we want to apply to `count`

const reducer = (state, action) => {
  switch (action.type) {
    case "INCREMENT":
      return { count: 2022 };
    default:
      break;
  }
};
When we dispatch the action of type INCREMENT, we expect our count to change to 2022
import { useReducer } from "react";

const reducer = (state, action) => {
  switch (action.type) {
    case "INCREMENT":
      return { count: 2022 };

    default:
      break;
  }
};

export default function App() {

  const [state, dispatch] = useReducer(reducer, { count: 2021 });

 // When the button is clicked, count is increased...
 // ...and changed to 2022

  return (
    <div className="App">
      <p> {state.count} </p>
      <button
        onClick={() => {

          dispatch({ type: "INCREMENT" });
        }}
      >
        Call
      </button>
    </div>
  );
}
We've used the useReducer to do a single state change, and it worked!
Handling multiple states with the useReducer
Simply by adding another action type to our reducer and dispatching it as needed, we can simply add an additional state change. The path is the same as what we saw earlier.
import { useReducer } from "react";

const reducer = (state, action) => {
  switch (action.type) {
    case "INCREMENT":
       // inclusion of `showGreetings` here makes sure the current value of `showGreetings` also returns..
       // .. when we dispatch this action too.
      return { count: 2022 , showGreetings:state.showGreetings};


      case "toggleGreetings":
        // inclusion of `count` here makes sure the current value of `count` also returns..
        // .. when we dispatch this action too
        return { count:state.count ,  showGreetings: !state.showGreetings };

    default:
      break;
  }
};

export default function App() {
 // we've added another state and set the initial value  as `true`
 // When the button is clicked, the count is increased
// and the value for showGreetings boolean is also reversed
  const [state, dispatch] = useReducer(reducer, { count: 2021 , showGreetings:true});

  return (
    <div className="App">
      <p> {state.count} </p>
      <button
        onClick={() => {

          dispatch({ type: "INCREMENT" });
          dispatch({type:"toggleGreetings"});

        }}
      >
        Call
      </button>
         {/* a conditional statement to show `Good Evening` only when showGreetings is `true` */}
        {state.showGreetings && <p> Hello , good day!</p>}
    </div>
  );
}
The Initial states of our variables ↓

The updated state of our variables when the actions are dispatched ↓

NB: As a result of dispatching the function with its state set to false, the greetings text is no longer visible to the user.
This time, though, the greetings text will reappear even if we click the button again.

Conclusion
Using React's useReducer() hook, you can decouple state management from component rendering code.
const [state, dispatch] = useReducer(reducer, initialState);
Simply call dispatch(action) with the relevant action object to change the state.
After that, the action object is sent on to the reducer() function, which performs state modifications
Source code for the tutorial here
Learn More
This blog is dedicated to educating curious individuals who want to learn about technology and improve their skills.
Check out the blog to show your support.

